

Golden Hour Photography Tips for Soft, Glowy, Natural Images
If you’ve ever walked into a photo session feeling completely confident, and then the light changed faster than you expected and suddenly everything felt off… yeah, same. That’s exactly why I care so much about understanding golden hour on a deeper level.
Here’s the thing: golden hour isn’t just pretty light, it’s unpredictable light. And if you don’t know how to work with it, it can go from dreamy to frustrating really fast.
So let’s talk through the approach I consistently rely on while using these golden hour photography tips. These tips are what I use during real senior sessions, family sessions, and travel shoots when I don’t get a do-over.
A Quick Intro (and If You Want Help Getting Started)
Hi, I’m Kellie, the face behind Kellie Rochelle Photography. I photograph high school seniors, families, and brand sessions, and a huge part of my work revolves around chasing light in a way that feels natural and connected.
If you’re a photographer trying to gain more confidence with sessions like this, I have resources that walk through exactly how I shoot and think in real time. You can check those out, or reach out through my contact page if you want more hands-on help.
What Golden Hour Actually Is (and Why It Matters)
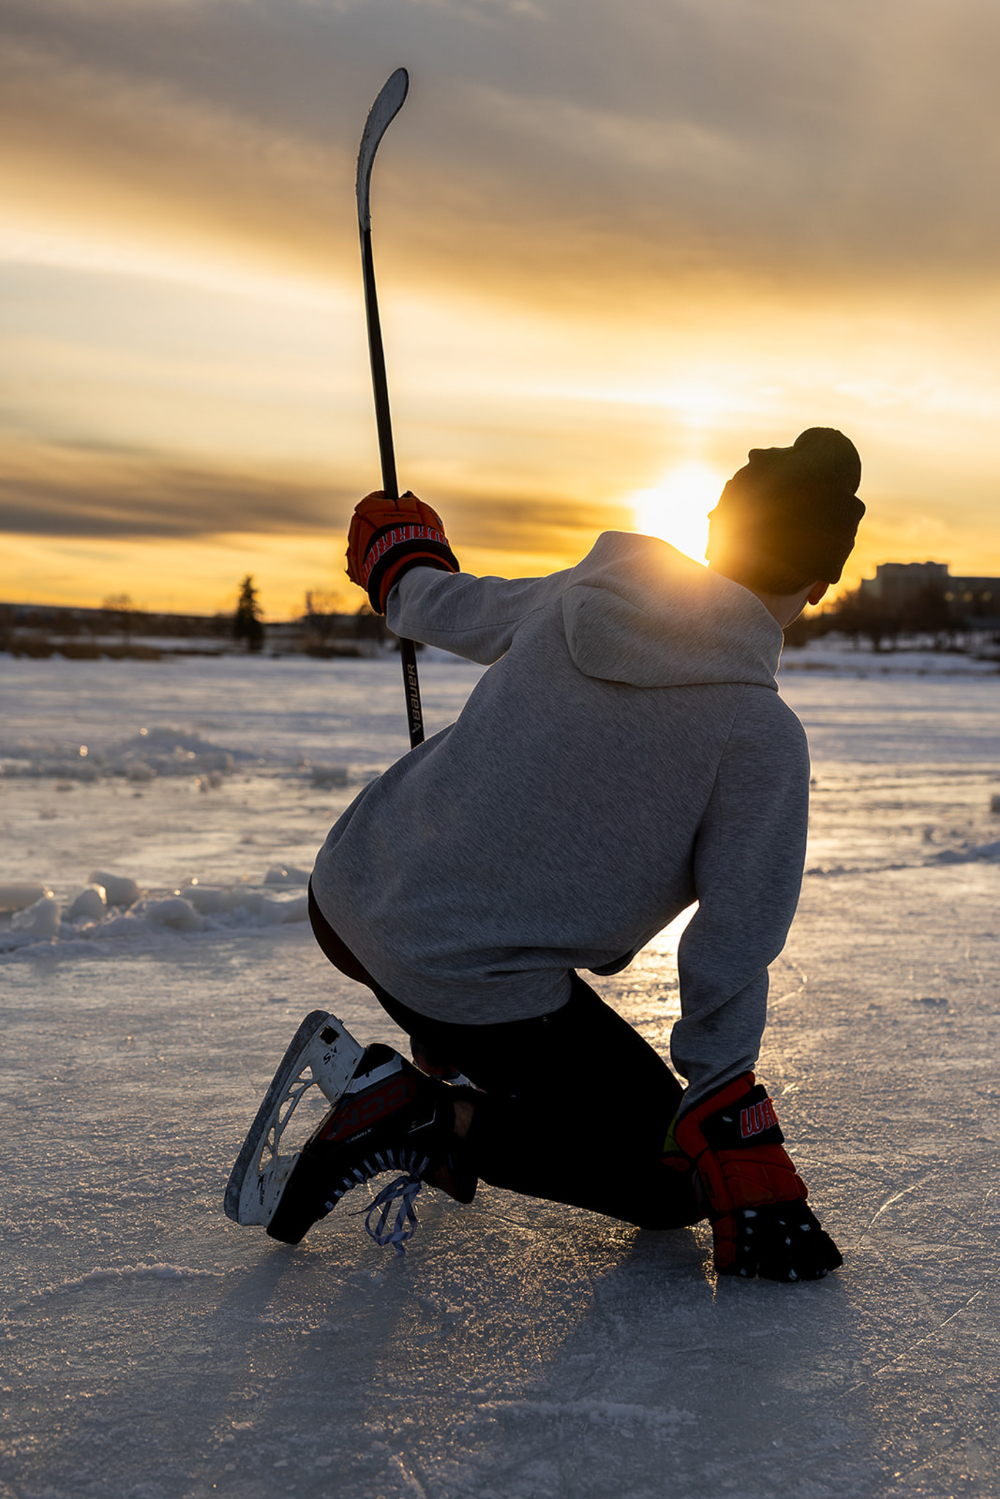
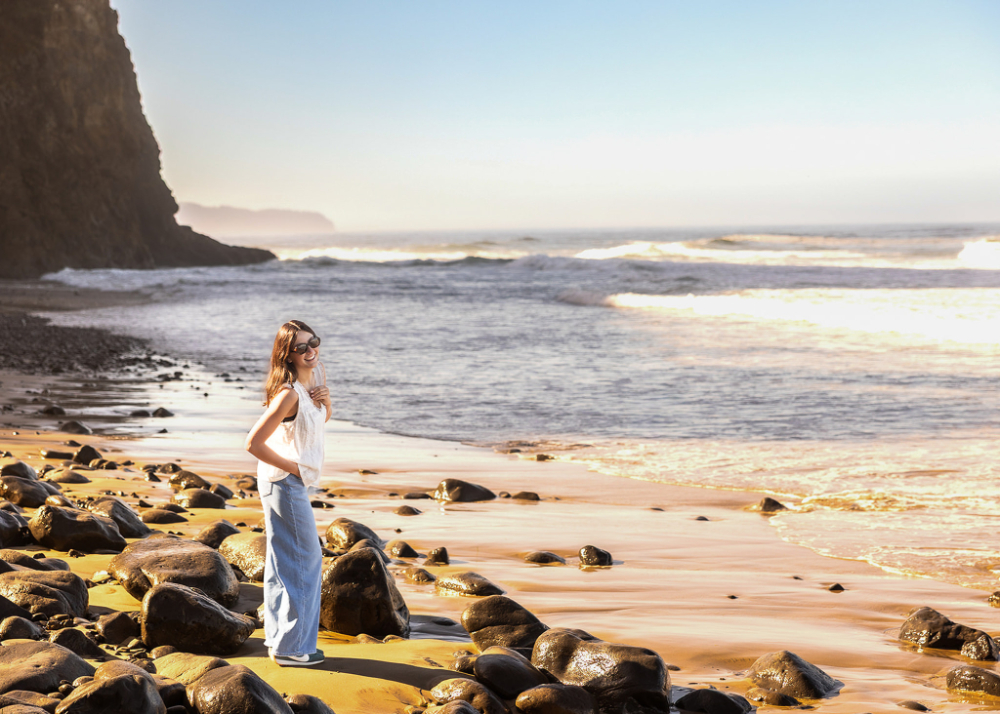
Golden hour is the window of time right after sunrise, or right before sunset when the sun sits low in the sky.
That lower angle does a few important things:
- Softens harsh shadows
- Warms up skin tones
- Creates that glowy, backlit look we all love
But what matters more than the definition is this:
Golden hour light is directional and constantly changing.
It’s not one consistent look, it shifts every few minutes, and that’s why learning how to read it matters more than just knowing when it starts.
If you’re trying to improve your photo sessions by using this beautiful light, then these golden hour photography tips are where it begins. Not with camera settings or gear, but with observation.
Now, let’s get into the practical side of this.
Need some inspiration and examples of using this beautiful light for photo sessions? My Instagram here has some of the many sessions I’ve done!
Timing It Right: When to Start Shooting
This is where I see the most confusion.
Golden hour doesn’t mean you show up right at sunset and hope for the best.
I typically start shooting about 60–90 minutes before sunset.
Here’s why: early golden hour gives you more flexibility, the light is still soft but much easier to work with, and you’re not rushing to fit everything into a short window.
Then, as the sun drops, you transition into that glow everyone loves.
A simple breakdown:
- 60-90 minutes before sunset: soft, directional light
- 20-60 minutes before sunset: warm glow starts building
- Last 20 minutes: strongest golden tones, fast changes
If you’re building your own rhythm and wanting to use these golden hour photography tips, start earlier in the evening than you think you need to.
How to Find the Best Light in Any Location
You don’t need the perfect location, you need to know how to use the light in whatever location you’re in.
When I arrive somewhere new, I look for:
- Open areas where light can spill in
- Edges of shade (this is huge!)
- Backgrounds that won’t compete with the light
The edge of light and shade is where the magic usually happens.
That’s where you get soft light on your subject, depth in the background, and more control over your highlights.
If you take one thing from these golden hour photography tips, let it be this: don’t chase locations, chase light.
Backlighting for That Soft, Glowy Look
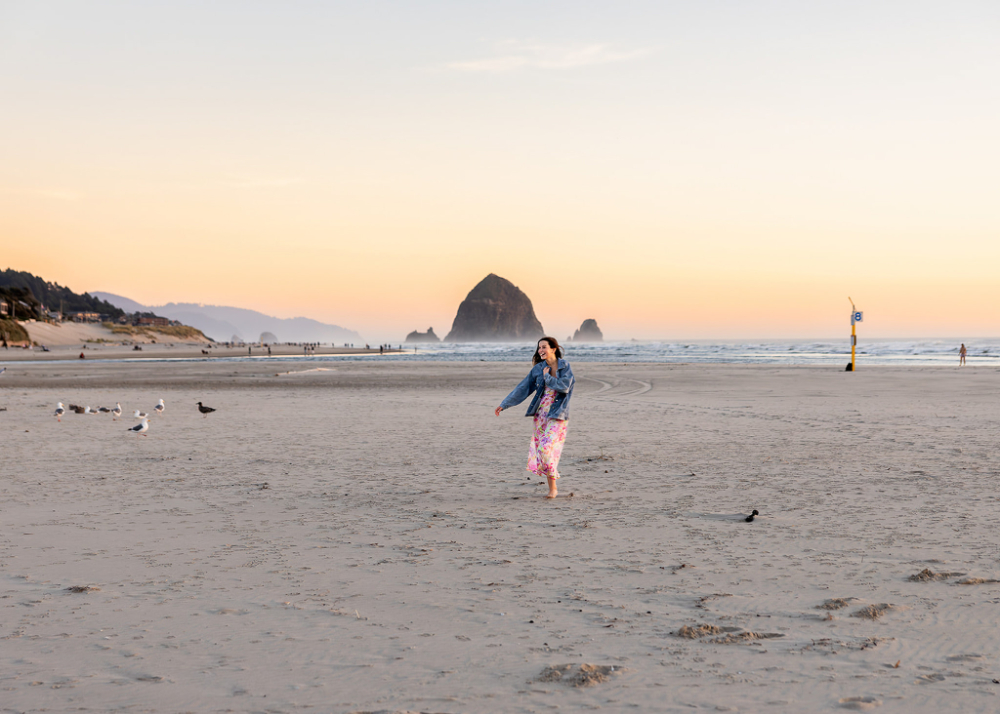
This is the look most people associate with golden hour.
Backlighting means the sun is behind your subject.
Here’s how I approach it:
- Place the sun just behind or slightly off to the side of your subject
- Watch for lens flare, but don’t avoid it completely
- Expose for your subject’s skin, not the sky
I’m always adjusting my position by taking small steps, and moving my body a few inches at a time to control how the light hits my lens.
A few inches can change everything: too much flare and your subject looks washed out, just enough flare and you get that stunning soft glow.
When you put them into practice, these golden hour photography tips start to feel less like rules and more like instinct.
Camera Settings for Golden Hour
I keep this simple on purpose.
My typical starting point:
- Aperture: wide (f/1.8–f/2.5)
- ISO: as low as possible, but flexible
- Shutter speed: adjusted for exposure
Here’s what matters most: protect your highlights, don’t blow out the sky (unless it’s intentional), and keep skin tones clean. I’m constantly adjusting my camera settings as the light drops.
Golden hour isn’t “set it and forget it.” It’s very much an active photo shoot.
If you’re just starting out and feeling overwhelmed, these beginner photography tips will help you build confidence, create more consistency, and grow your skills without feeling like you need to have it all figured out yet.
Using Movement to Enhance the Light
This is one of my favorite parts of golden hour sessions.
Light + movement = natural, alive images.
Instead of stiff posing, here’s how I guide my clients: I’ll have them walk toward or away from the light so it naturally wraps around them, ask for slow turns to catch the light at different angles, encourage a little hair movement by having them brush it back or let it fall naturally, and guide small shifts in their body angle to change how the light hits their face and shoulders.
Movement catches light differently in every frame.
That’s what creates variety without needing a new location.
If your images feel a bit flat, this is one of the most helpful golden hour photography tips to focus on.
What to Do When the Light Changes Fast
Because it will.
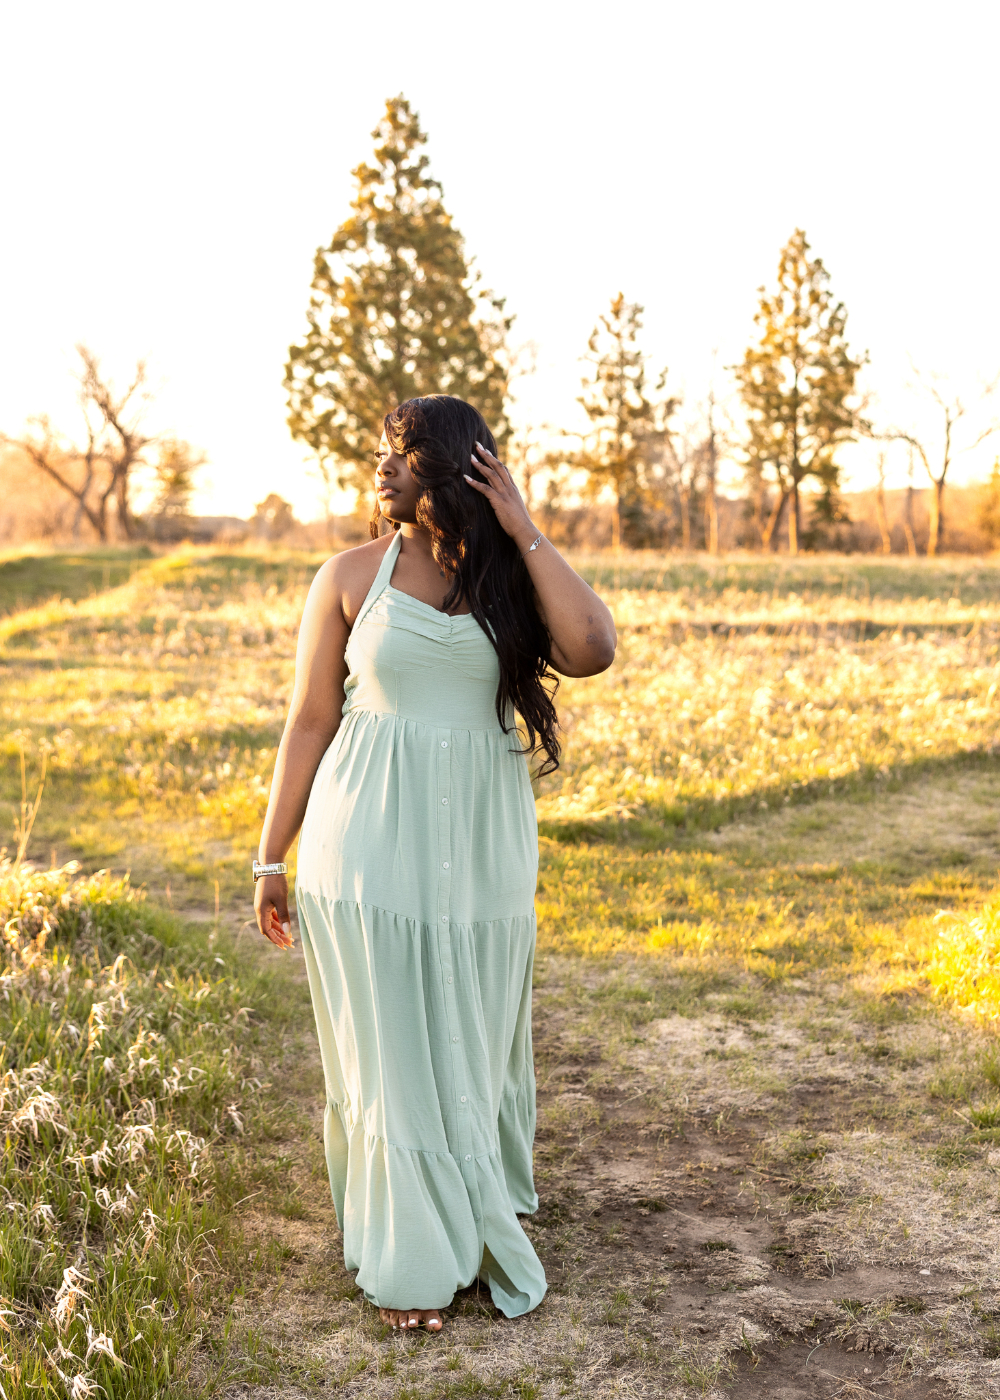
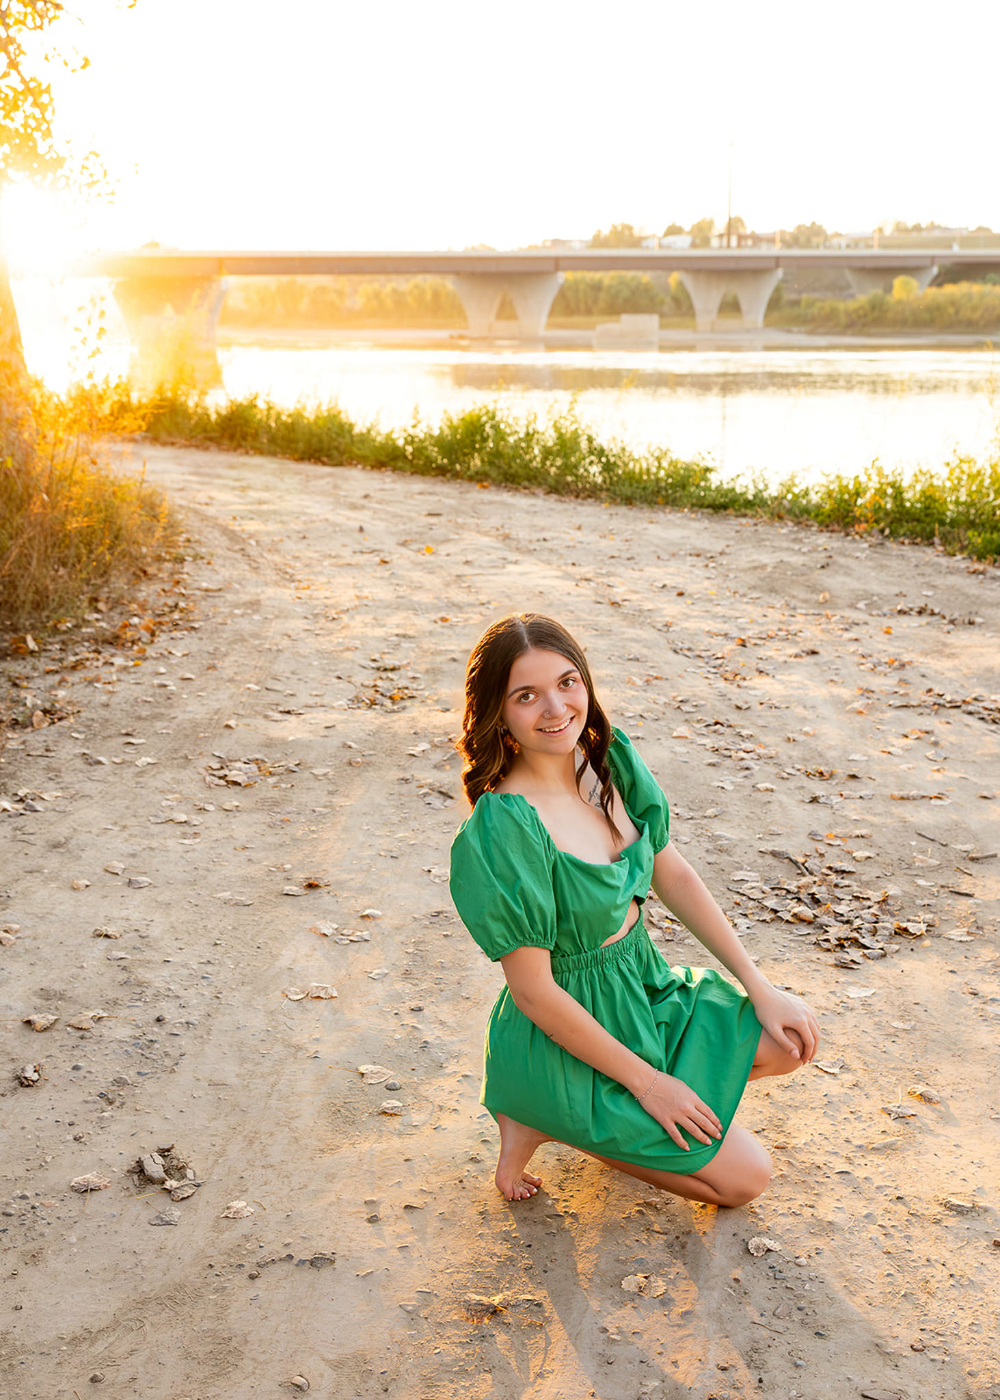
The last 20 minutes of golden hour move fast. Like… really fast.
Here’s what I do to make the most of it:
- Pre-plan my final spots
- Narrow down prompts instead of over-directing
- Keep clients moving instead of stopping constantly
And most importantly:
I don’t fight the light, I adjust to it.
If it gets softer, I lean into it by adjusting my posing and composition to match the softer, more even light.
If it drops behind the horizon, I shift angles or backgrounds.
The more you shoot during this time, the better your instincts will get.
Common Golden Hour Mistakes to Avoid
I’ve made all of these at some point.
- Starting too late: You lose flexibility, and feel rushed
- Shooting everything backlit: Variety matters, and not every image needs glow
- Ignoring harsh patches of light: Even during golden hour, uneven light can happen
- Not adjusting camera settings fast enough: Light changes quickly, and your camera should too
- Overexposing for “style”: Washed out skin isn’t the same as soft light
If your results feel hit-or-miss, it’s usually one of these.
Dialing in these golden hour photography tips makes a big difference over time.
How to Create Consistency in Your Editing
This is where everything comes together.
If your shooting is inconsistent, editing will feel difficult.
So first, shoot with similar exposure across your session, and keep white balance in mind while shooting.
Then in editing:
- Adjust warmth gradually, not all at once
- Watch skin tones carefully
- Keep contrast soft, not flat
Consistency starts in-camera, not in presets.
That’s one of the biggest shifts photographers make when they really understand these golden hour photography tips.
If you’re ready to take your editing consistency even further, this blog breaks down how to develop a signature style that feels cohesive, natural, and true to you.
Final Thoughts
Golden hour is beautiful, but it’s not effortless.
It takes practice to read light, adjust quickly, and stay calm when things shift.
But once it clicks, everything changes.
You stop chasing perfect conditions and start creating in whatever light you’re given.
If you want help with this, whether it’s learning how to see light better, posing in a way that works with it, or building more consistency in your sessions, I’ve got resources that walk through all of this step by step. I also offer 1:1 mentoring for photographers who want personalized guidance and support as they grow. Or if you are unsure what you need, you can reach out and we can talk through where you’re at.
Because this isn’t about getting lucky with light.
It’s about learning how to use it on purpose.
If you liked this blog, be sure to check out these posts:
Why I Use Dubsado For Photographers to Streamline My Client Experience
Flodesk Review: Is Flodesk the Best Email Marketing Platform for Photographers?
you love our work and you're
Ready to capture this season?
I usually book a few months out, but it’s always worth reaching out. Filling out the inquiry form gives me a sense of what you’re looking for and whether the timing works.
book now
